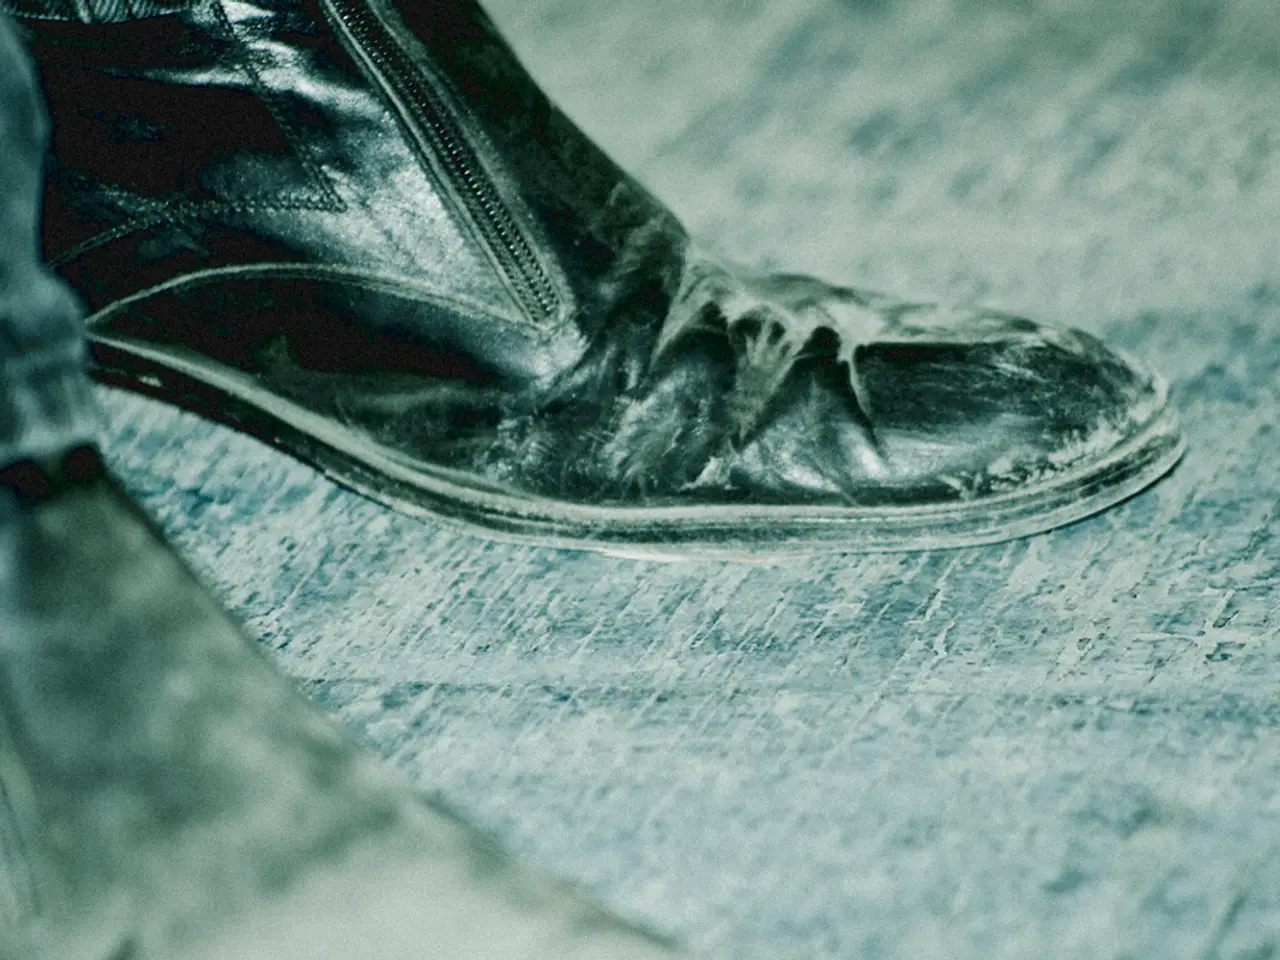
Customizable Skeleton Footwear With Adhesive Vinyl Decals
Want to add a spooky twist to your footwear? Here's a step-by-step guide on how to make skeleton shoes using a Cricut machine, iron-on vinyl, and a video tutorial.
Materials Required
- Plain shoes (preferably canvas or fabric-based for better adhesion)
- Heat Transfer Vinyl (HTV), preferably white or glow-in-the-dark for skeleton bones
- Design file of skeleton bones (SVG format recommended)
- Transfer tape (optional, for easier transfer)
- Parchment paper or Teflon sheet (for heat protection)
Tools Needed
- Cricut cutting machine (e.g., Cricut Maker or Explore)
- Cricut Design Space software (for designing or uploading cut files)
- Weeding tools (to remove excess vinyl)
- Cricut EasyPress or mini heat press (for applying vinyl)
- Iron (alternative to heat press, if necessary)
- Scissors (for trimming vinyl if needed)
Step-by-Step Process
- Design or Download a Skeleton Pattern Either create or download an SVG skeleton bone design suitable for shoes. Make sure the design fits the areas of the shoes where you want to apply (e.g., sides, top, or toe box). Cricut Design Space has options to upload custom designs.
- Prepare the Vinyl and Cut Design
- Mirror the design in Cricut Design Space since HTV needs to be flipped.
- Place the HTV shiny side down on the cutting mat.
- Use the appropriate cut settings for heat transfer vinyl.
- Cut the skeleton design with the Cricut machine.
- Weed Excess Vinyl Use weeding tools to remove unwanted vinyl around the skeleton shapes, leaving only the bones you want on the shoes.
- Position the Design on Shoes
- Place the vinyl skeleton design on the shoe's surface with the clear carrier sheet on top.
- Use transfer tape if needed to help position the vinyl accurately.
- Heat Press the Design
- Preheat your EasyPress or mini heat press to the recommended temperature for your HTV (usually around 305°F/150°C).
- Place parchment or Teflon sheet over the vinyl to protect it and the shoe.
- Press firmly for about 15-30 seconds, applying even pressure.
- Let cool slightly and carefully peel off the carrier sheet.
- Final Touch and Curing Allow the shoes to cool completely. You can place the heat press again for a few seconds to ensure better adhesion if needed.
Video Tutorial Guidance
The TikTok videos on making heat transfer designs for shoes with a Cricut machine demonstrate this process well—cutting HTV with the Cricut, pressing with a mini heat press, and ensuring adhesive sets completely. They emphasize the importance of mirroring the design and pressing with the correct temperature and pressure.
This method will create custom skeleton-themed shoes with durable, professional-looking heat transfer vinyl designs. Repeat the process with the right shoe, and enjoy your spooky footwear for Halloween or general fun! A printed copy of the design is optional before cutting, and subscribing to the YouTube channel is recommended to access future video tutorials.
To add a spooky twist to your lifestyle, you can create fashion-and-beauty items such as custom skeleton-themed shoes using materials like plain shoes, heat transfer vinyl, and a design file of skeleton bones. For home-and-garden enthusiasts, this project can also be extended to designing and making various Halloween-themed decorations with the Cricut machine.


